Monday, April 25, 2016

3D Found Materials

For this lesson, I would first show them works by artists that create artwork from found objects:

Tony Cragg (dice)

Anna Gillespie (natural objects to create form)


Babis Cloud (a horse made of computer keys)


Zachary Abel (sculptures made of office supplies)


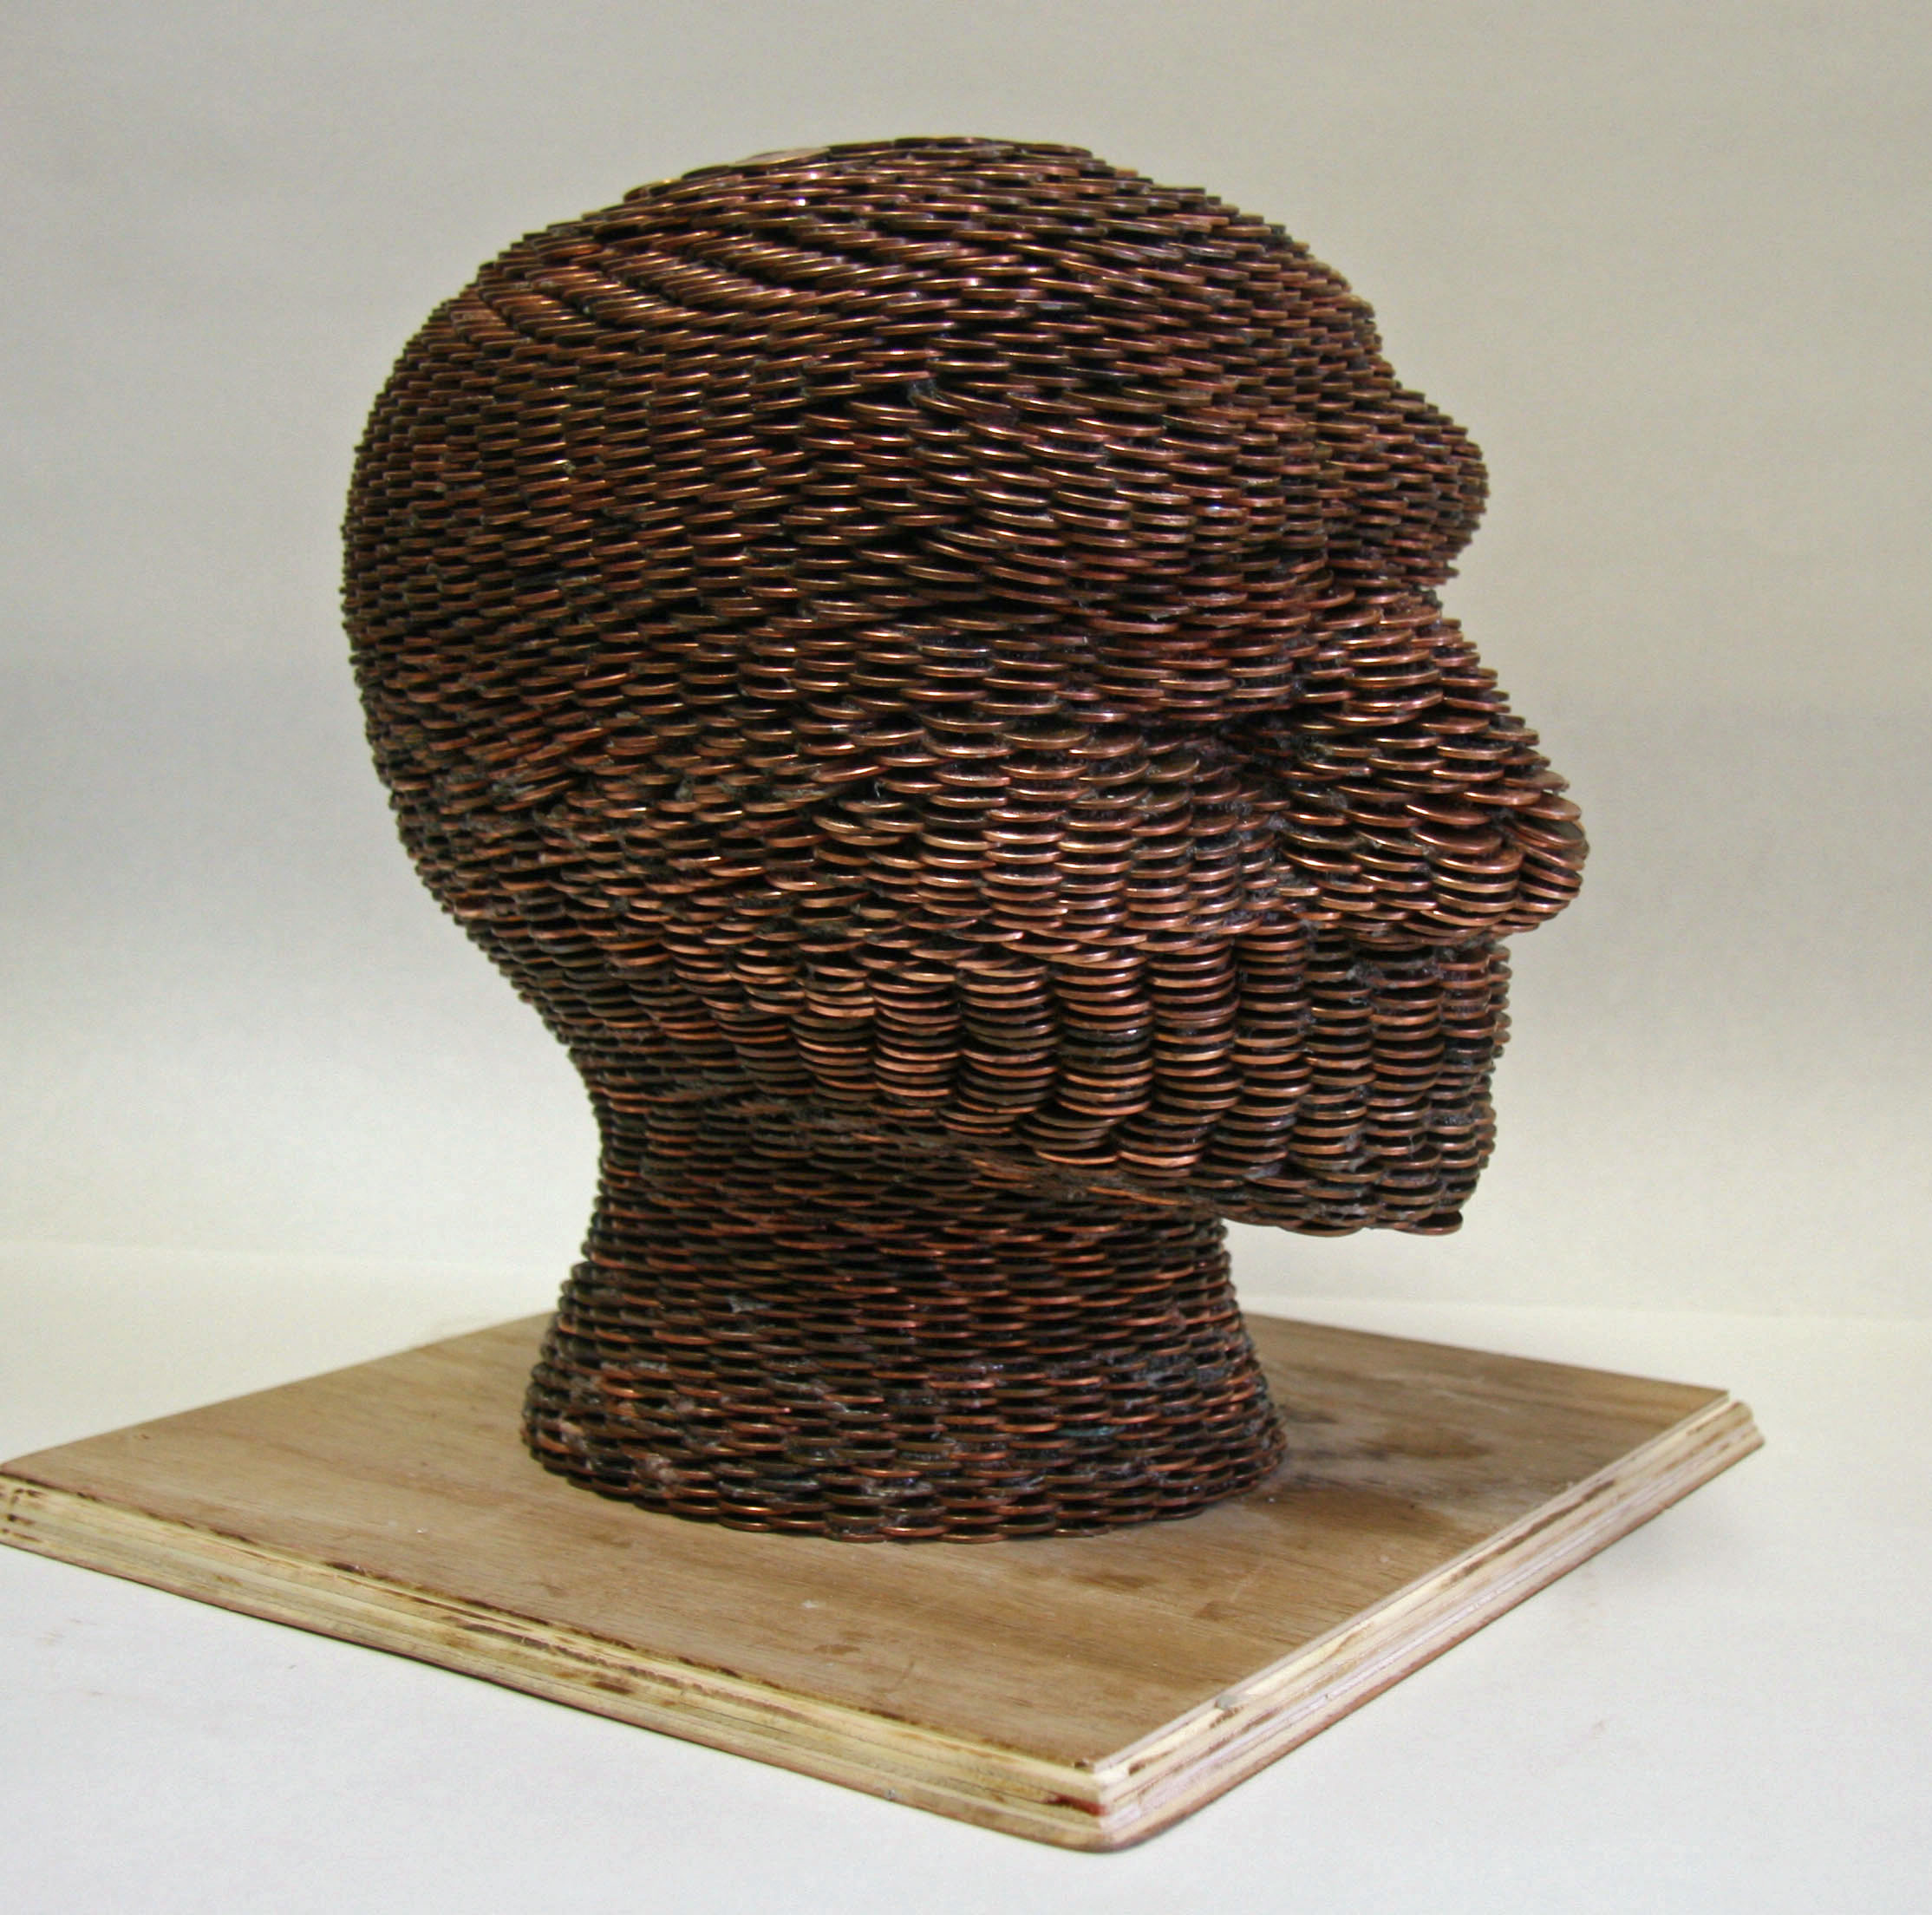
I would then have them create a form, can be abstract or representational, by joining the many of the same smaller pieces of found objects.  The elements of design for this would be texture and space.  The principles of design to think about would be repetition (rhythm).  Here are some examples of sculptures made from found objects:


I wish I had a picture of the 3D sculpture I made last year using Red Solo cups.  It looked similar to this but a smaller version


3D Bought Materials

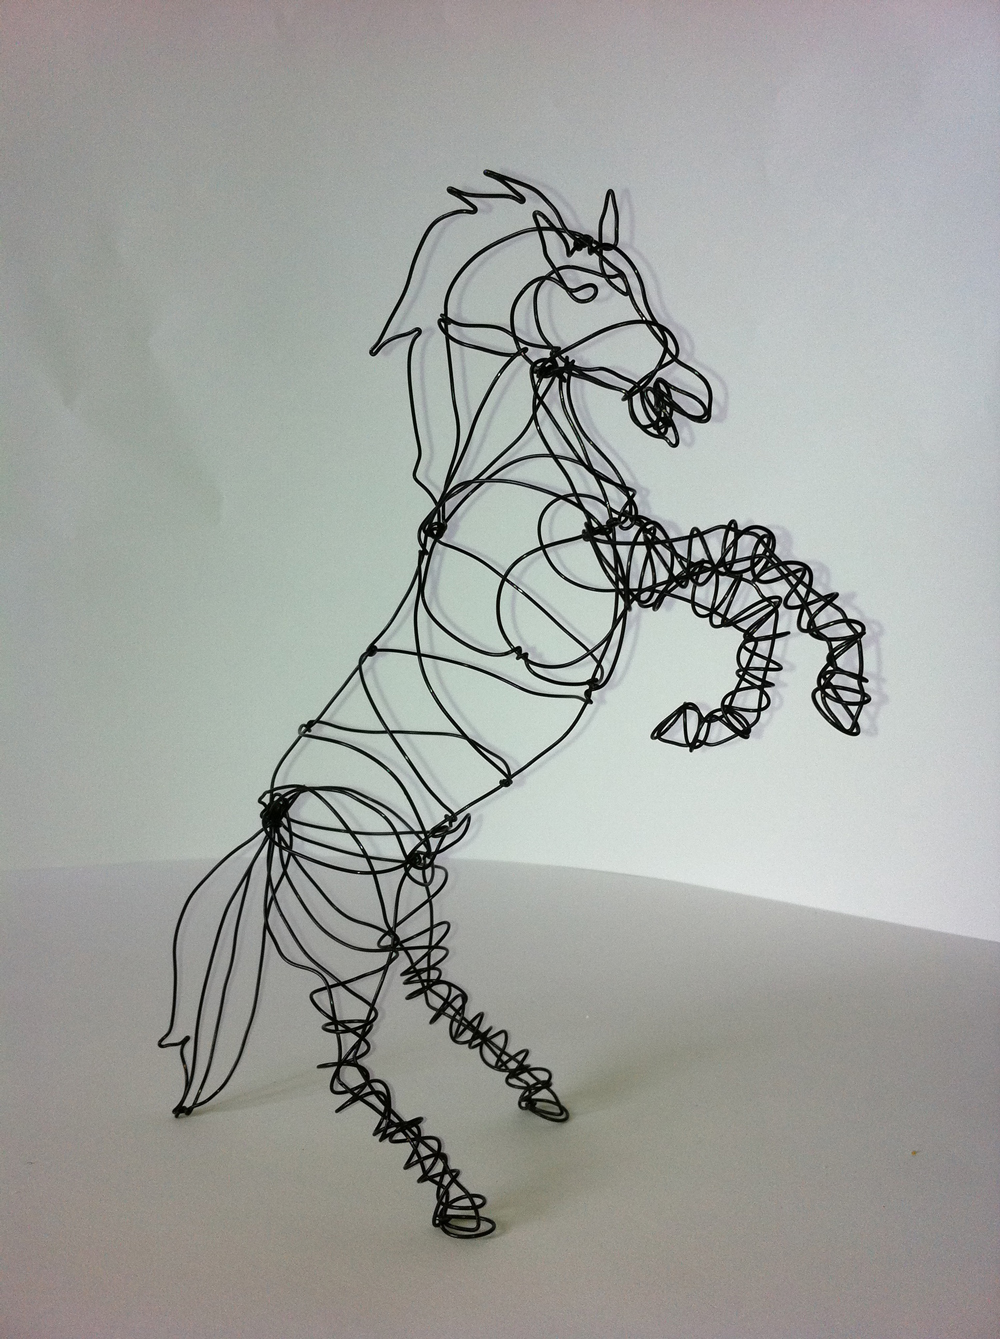
For this type of project, wire is the most common form of 3D materials to use.

I would have my students create a 3D wire sculpture of their spirit animal.  They would first have to take a survey that tells them what their spirit animal is, if they don't already know. (Mine is a butterfly!)  These surveys can be easily found online.

Here are some examples of some websites:
http://www.spiritanimal.info/spirit-animal-quiz/
https://www.spirithoods.com/blogs/news/45975681-spirithoods-spirit-animal-quiz-whats-your-spirit-animal

Once they figure out their spirit animal, they will then make their 3D wire sculpture that's atleast 2 feet, whether horizontal or vertical.

Marker Wash

In class, we experimented with markers and dry erase markers to create marker washes using water.  This creates a water color quality.  Ink washes create the same effect.
(Ink washes)


There are two ways you can create this effect:

Putting the ink or marker on a palette or mixing tray and adding the water there then paint onto the paper. (This is my preferred technique)

or

Draw on the paper with the ink or markers then use your paint brushes to add the water to where you drew the marker or ink line on the paper

I would have my students paint a still life using fruit so that they can experiment with color too and not just black and white, which ink washes usually are.  This project would incorporate value, shape and line.

This project could also be used with portraits and landscapes, not just still life.

Below are examples from my classmates

Collage

In class we created an abstract collage that applies all the elements as well as the princples of design which are

Elements: Color, Shape, Texture, Space, Line and Value
Principles: Balance, Emphasis, Unity, Contrast and Rhythm

I would have my students create an abstract collage similar to the one we did in class.

Start of by picking two colors or paper, one that can be any color and a black one.  You pick one of these to be the background color and the other one to be the one you rip (or cut) into different piece.  I would also have them use a magazine to rip or cut pieces from to include.  With these pieces, they will create an non-objective abstract collage.  They would need to arrange these into one of these:

Non-Objective Compositional Arrangements

S or Z Composition - usually breaks the space up in a 's' or a 'z' shape; can be backwards, forwards or sideways

Cruciform Composition - breaks the space up in the form of a cross

Radical Compositions - all lines should be broken, irregular or intercepted

L or Rectangular Compositions - have a large mass with a lateral place

Diagonal Line Composition - verticals or opposing slanted lines; most ideal and difficult schemes

Horizontal Compositions - have a pattern that repeats across the plain of artwork

Vertical Compositions - have a pattern that repeats up and down in the plain of artowrk

Overlapping Frames - pattern that overlaps or alternates like a checkerboard

Once students create their arrangement, have them take a picture of the layout so they can start gluing down the pieces.

*You should have all the elements and principles of design in the piece:


(The last one is mine :) )

College and Career

As teachers, it is important to not only teach our students about art, but to also try to help them figure out what they want to do after high school.

One way I would help navigate them is to make a day for them to be able to complete college applications.  My teacher in high school did this and this was helpful because at the time, I didn't have my own laptop, so filling out applications was something I could only do while at school.  I'm sure you will come across many students with the same situation as I had.  Your students will really appreciate this and when they're older and in college or working, they'll think about that teacher that cared to make sure students had a chance to figure out what they want to do once they graduate.

I would also give them a change to ask me questions about college, by having them write down questions on pieces of papers and put them in a jar (can be anonymous).  Then one day in class I would take the time to answer these questions they have.  I didn't have this because I was the first in my close family to go off to school somewhere so a lot of the things I learned is because of trial and error.  I feel that this is another way that I can be a successful and loved art teacher!

My Art Portfolio

Here are some examples of my past art works that I could include in my teaching portfolio.
 Colored Pencils and Collage


Wax based paintings


Contour drawing and painting are my strengths when it comes to my own art making. I can use any media when it comes to that but adding value to my drawings are my weaknesses.  This may just be due to my laziness, or maybe I just like a clean contour drawing.

I would like to teach lessons focusing on value because I only took Art once my freshman year of high school and I really wasn't taught how to add value and I think that would've helped me out tremendously.

I would also like to incorportae more medias when it comes to painting instead of just the basic watercolor or acrylic paint.  To learn this, I would practice painting with these medias like oil and wax as you see in the pictures above.

Ideal Teaching Situation

My ideal teaching situation would definitely be where I have a close relationship with the principal because that's who will approve your budget requests so if your principal doesn't support the arts or is someone you don't get along with,then you will never be able to do what you want with your art class.  At the school I observed at, you could clearly see that she has a good relationship with the principal because the school and halls are filled with different art works.  There's even a 3D art piece in front of the school.

Another ideal teaching situation would be the classroom size.  My teacher had a big art room and she used the space effectively.  She has the tables set up so that she can walk around to each student with no problem.  The class is also decorated very well and I feel I wouldn't have any problem with this, seeing that people already love the way my house and room is set up.  Decorating is easy for me, being an artist.  Also, having plenty of space and places to put supplies and student work.

I would also change the way technology affects the classroom.  As far as cellphones, if I have the choice, students would only be allowed to use their cellphones to listen to music.  I know I will play music during my classes but not all students like the same music so I feel like they should be able to listen to what they please.  I saw at the school I observed how technology can be bad in an art class.  In my teacher's classes, she had students that would stay on their phone versus working.  When i was in school, our phones would be taken but since they're allowed now, it's really nothing teachers can do as far as disciplining them.

I believe these things will be the most important things to have in order to have a successful classroom.

Firsr Day Jitters Updated

In my first blog, i gave myself advice for the first day of school and they were:

1. Be Prepared!
You need to come to school on the first day and be prepared for everything, including having your outfit and materials ready and getting familiar with the names of your students.  You should already have the roster of your students before the first day, so you can practice going over their names and pronouncing them correctly.  Also, create a seating chart for them, only for the first week to help with getting to know who is who.

2,Just Smile :)
Relax! Smiling wont hurt anything.  It lets your students know that you're excited about having them in your class.  If all they see is your frowning face, they're already going to dislike you or think you're the "mean" teacher.

3. Expectations
Establish with your students your expectations of them and what they should learn in the classroom.
  Maybe even let them create the rules and write them out to place around the class so they can see these rules daily.  This way, they know what they're suppose to do because they came up with it.

4. Be Organized.
Keep a schedule for each day to manage time effectively.  If you have procrastination issues like me, this will be very helpful to keep track of everything that needs to be done.
.  The first day can be used for rules and getting to know your students as well as them getting to know you and each other using ice breakers.  You can start a lesson but its not necessary,  You all are both getting back into the routine of school, so they don't need too much being thrown on them the first day.  I never liked "learning" on the first day so wouldn't suggest it for my class.

Finally, expect things to go wrong the first day.  It's suppose to go wrong.  The important key is to breathe.  If something doesn't go as plan, don't panic.  Just try again.  The first day is important, yes,  but you have many days to try to get it right!

From observing in my practicum, I seen these tips being used by my teacher especially with the last advice, of expecting things to go as planned.  My teacher changed the whole plan for two class period because she seen that her students were bored with the current art project, so she let them go help the drama class paint their sets for a play the following week.  Sometimes as teachers you have to change your plans to better the students and there's absolutely nothing wrong with it!


Practicum

Technology

One interesting thing that I observed was the effect of technology in the classroom.  When I was in high school, phones were not allowed at all to be used during school until my senior year, and even then, each teacher had a choice in whether they wanted to allow their students to use their phones or not.  If our teacher was one of the ones that didn’t want students to use phones, then we could use them in the halls and during lunch.  Now, students can be on their phones anywhere and this affected the progress of some of the students’ work being done.  Some of my teacher's students used this opportunity to listen to music on their phones while doing their art work and encourage creativity, but there were those students who would use classroom time to be on their phones.  For example, in her first Art 1 class, she had one female student that was always late to class.  When she would get there, she would be on her phone for most of the class and talking to her friends.  She would get on to her about starting her work but there’s only so much she can do seeing that phones are allowed and also the fact that their teacher is on her phone as well whenever she isn’t helping a student.  I guess this would be something I would have to adjust to once I start teaching.